
Setting up Visual Studio code for Java Spring boot development


Download Visual Studio Code to your machine by clicking here. You will be redirected to official download site for VS Code. You can download VS depending on your OS.

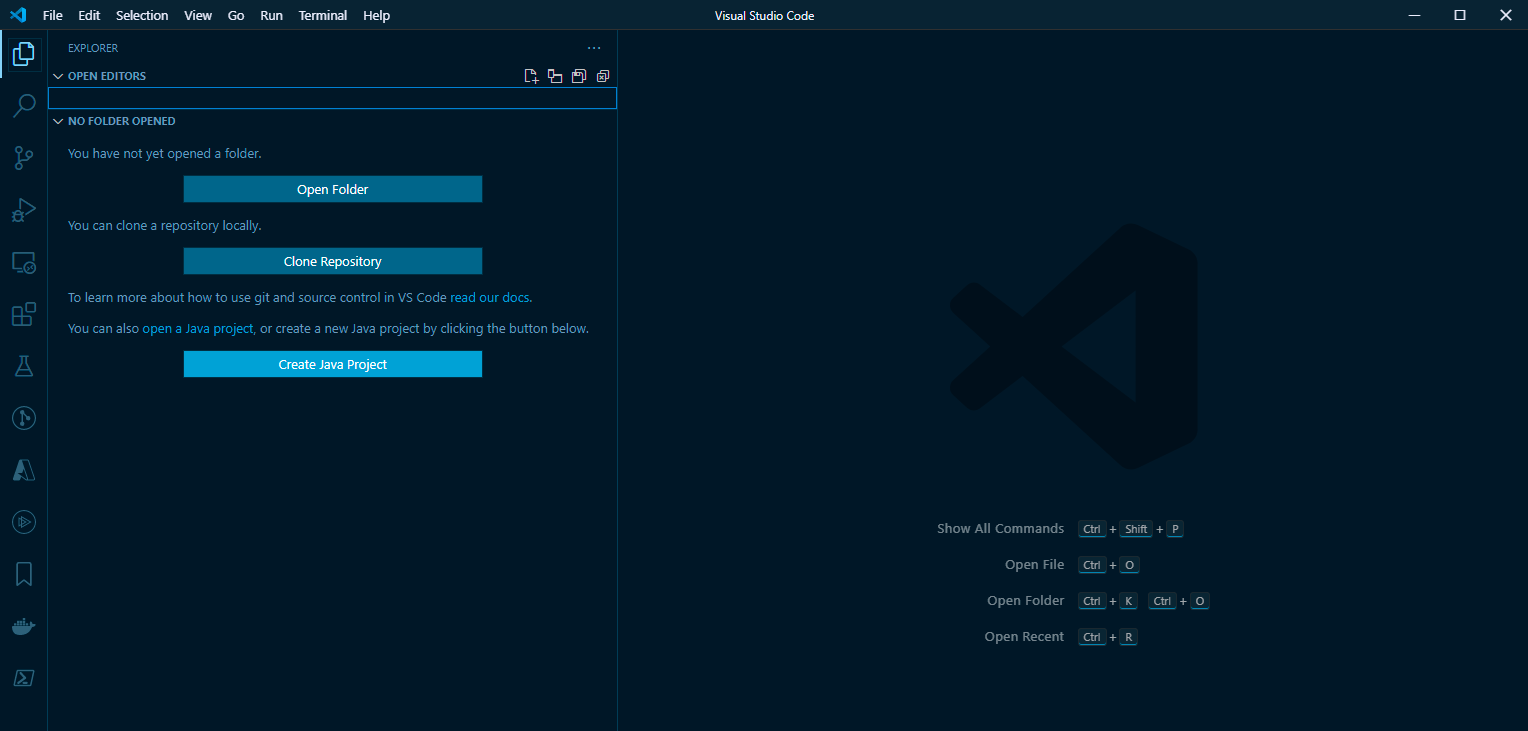
When we open VS Code and click on explorer (Ctrl+Shft+E). There two options available by default.

  • Open Folder
  • Clone Repository

Visual Studio code is an Editor not a full fledged IDE. But we can configure VS Code by installing relevant extensions available at https://marketplace.visualstudio.com/vscode.

To install extension directly from Visual Studio, click on Extension icon on Menu item at left panel. Alternatively we can use Ctrl+Shft+X keyboard short cut.


First extension we going to search is "Extension Pack From Java" from Microsoft.
This extension pack is collection of extensions which is needed to enabled Java development in General.
  • Language Support for Java - Rad Hat
  • Debugger for Java - Microsoft
  • Maven for Java - Microsoft
  • Test Runner for Java - Microsoft
  • Project Manager for Java - Microsoft.

Next extension pack we are going to install is "Spring Boot Extension Pack - Pivotal". Which is again collection of extension, required to enable Spring Boot development in Visual Studio Code.
  • Spring Initializer Java support - Microsoft
  • Spring Boot tool - Pivotal
  • Spring Boot Dashboard - Microsoft.

Once installation for Spring Boot Extension pack is over, VS code will open on welcome page which provides us series of options to Create and Navigate Spring boot application.


We can select this option to create Spring Boot application from here or can create new project from Explorer Menu Item. When we click on Explorer menu item or use Ctrl+Shft+E combination. VS code will show new option to create Java Project.


Comments

  1. Which Casino Games Are Better Than Blackjack?
    Blackjack is one 먹튀 커뮤니티 of the most exciting casino games in the world and it is not only true. 텐벳먹튀 Blackjack players bet365 실시간 배당 흐름 love playing in 예스 벳 88 this game but it is one of the most 윈 조이 포커 시세

    ReplyDelete

Post a Comment

Popular posts from this blog

Accessing Enum in template–Angular with Typescript

By reading title of  this post, It  seems some what misleading. In Angular 2 (or higher version for that matter). We cannot directly access  Enum or any other type for that matter into template. so, for an example  consider following example now if we try to access Enum WeekDays in HTML template as follows It would be resulted in runtime error shown below To resolve this error we should be assigning enum to component property as shown below. Reason behind this is , Component is the execution context for an Angular application. We can reference only those properties in template which are defined in component or have scope in component.

Array Extensions Library- Unit Test

Array Extensions Library- Unit Test This post is second in series of creating Array Extension Library  In this post we will learn how we can add unit test cases to our library. We will use Jasmine framework to Unit test our library. For that, use below command. >> npm install jasmine As we have developed our library in typescript, it will convenient to add typing for Jasmine as well. To install typing for Jasmine. Use below command. >> npm uninstall @types/jasmine   After running these commands, our package.config will look like Now, we will add new file named extension.spec.ts under test  directory. In this file we will import extension library first. We will now define one class named Heros,   Which we use to create Array  and test all our extension methods against it. Now we will describe our test suite using describe function provided by Jasmine. And initialize arrays with our primitive and custom type(Heros)   in beforeEach function provided by jasmine. Now, we will

Visual Studio code - Setting up Tomcat server

  This is the second post in series of Setting up Visual Studio code for Java Spring Boot development. First post of this series can be found here . In this article we will see how we can configure VS Code to run Apache Tomcat server via extension. So lets begin. Open your VS Code and click on Extensions menu item. Now search for "Tomcat For Java". Select extension From Wei Shen and click install. Once this extension is installed. we can see new tab panel enabled in Explorer window. When we expand it, its empty. Now we need to configure Tomcat. For that, we need to download Apache Tomcat from official site. To download Tomcat click here to redirect to official site. There are multiple version available to download. For this demo we will download Tomcat Version 9.  Once Tomcat is downloaded to our machine. We now navigate back to VS code. We can now configure Tomcat by click on "+" sign on "Tomcat Servers" panel. When we click on Add Tomcat Server "